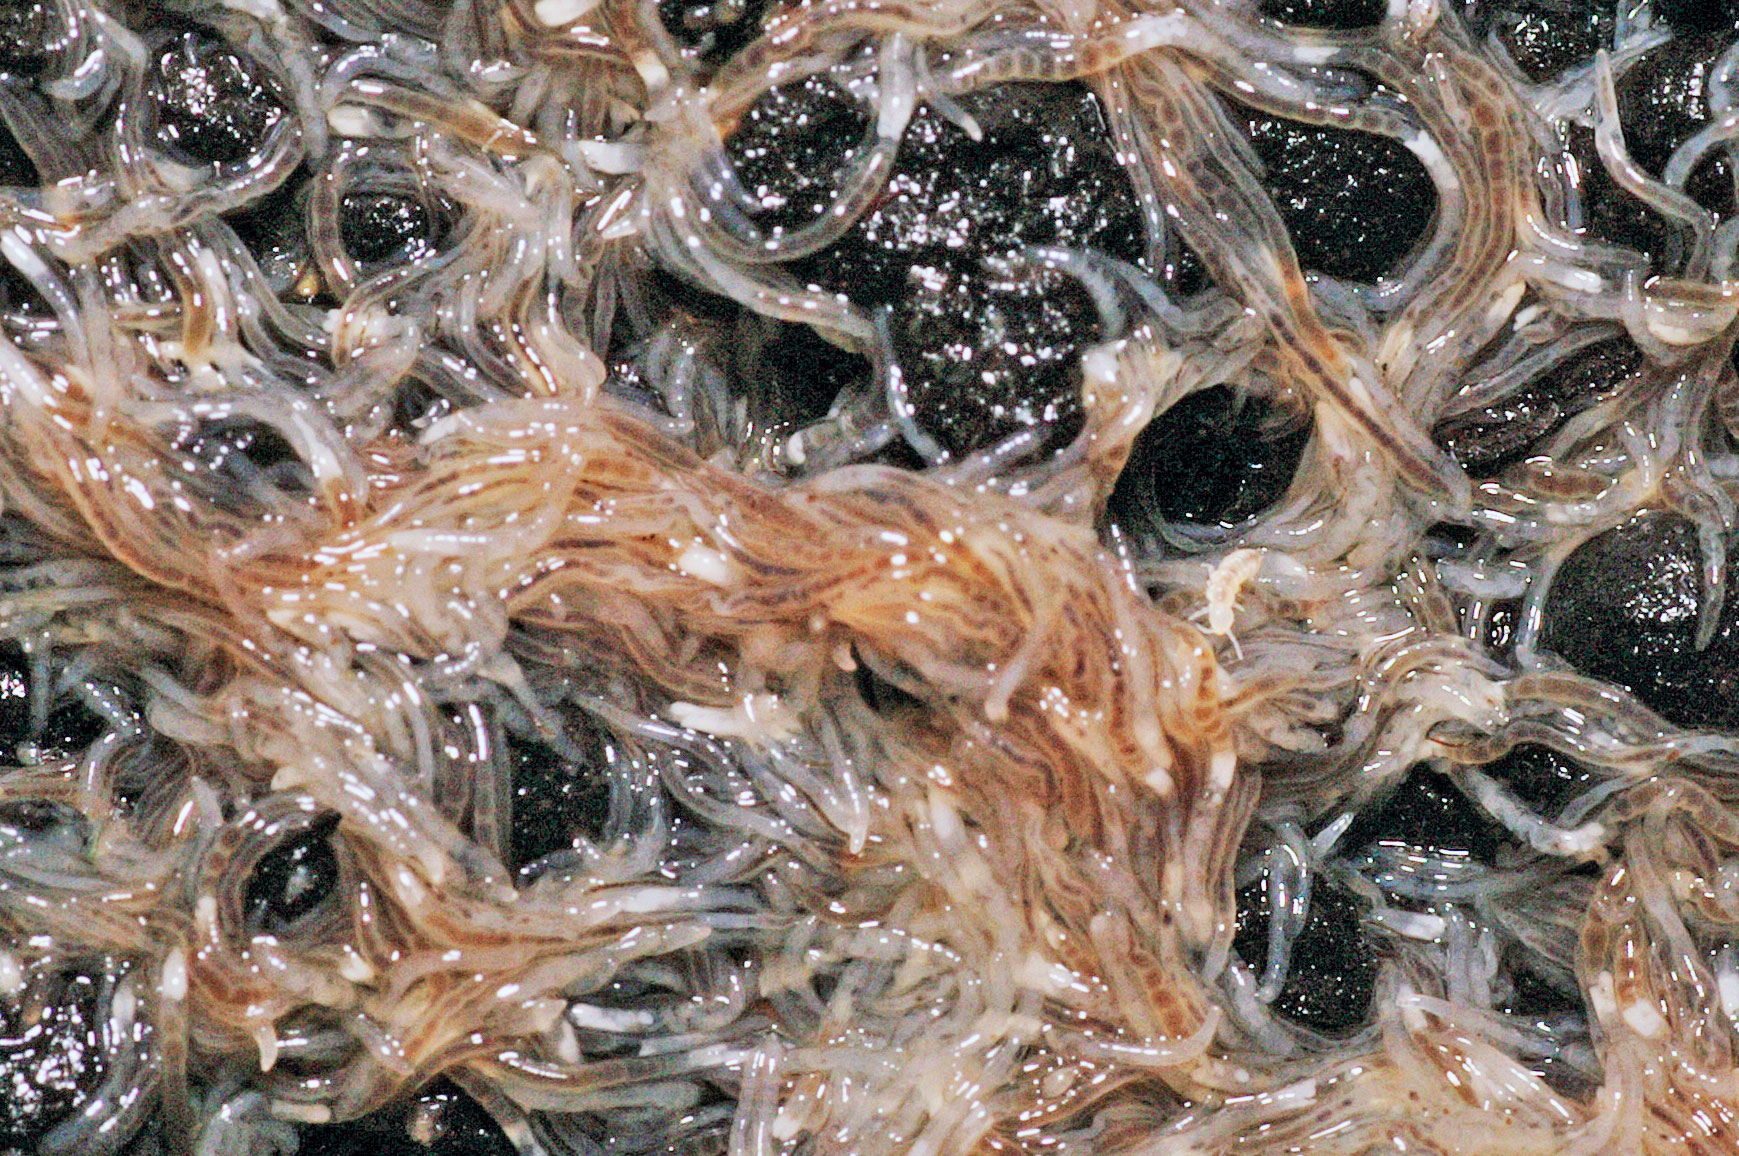
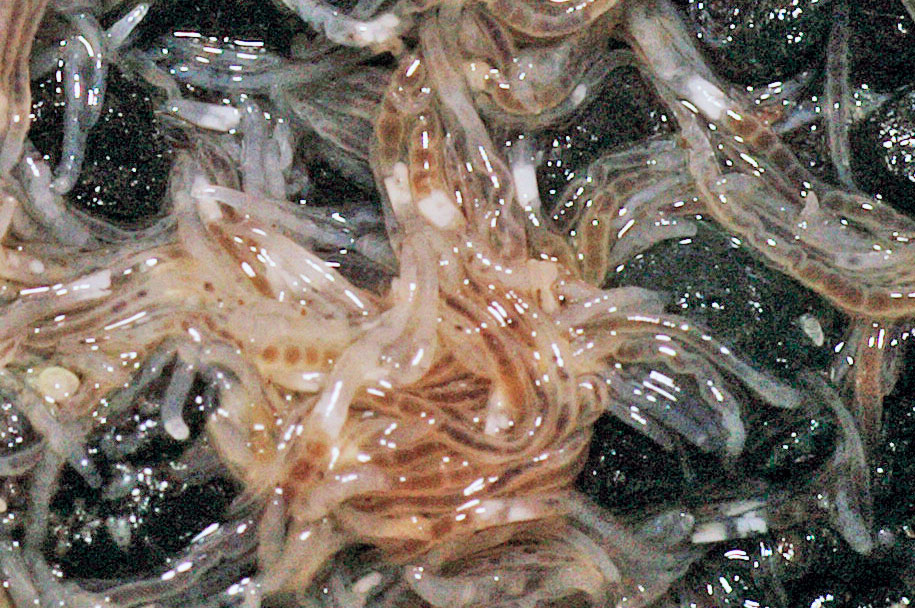
Grindal worms
Systematics
Phylum Annelida (annelids)
Class Clitellata (girdle worms)
Order Oligochaetae (few-bodied worms)
Family Enchytraeidae (Enchytraea in the broader sense)
Genus Enchytraeus (Enchytraea in the narrower sense)
Species buchholzi (grindal worms)


General information
Instructions and recipes for breeding grindal(Enchytraeus buchholzi), smaller thermophilic relatives of enchytraea(E. albidus), which, like earthworms, belong to the annelid family, are a dime a dozen. I don't want to give an overview of all the propagation and breeding options here, but only report on the variants that have worked well for us.
Containers
Plastic boxes with lids (make sure there are enough air holes! - punch pliers etc.) with a capacity of approx. 0.5 - 2 litres are well suited for breeding.
Substrate
Foam
This method seems to offer some advantages in terms of productivity and odourlessness. Here you use open-pored foam sheets with a thickness of 1.5 - 2.5 cm, which can be bought in any DIY store, in 2 - 3 layers. To ensure a good supply of oxygen, an air gap of a few mm should be left between the sheets and the box for better air circulation, and a few grooves should also be cut into the underside of the foam pieces.
New plates are washed out well; the foam should be more moist than wet for breeding. The optimum temperature range for breeding is 22 - 28 °C; the bottom cabinet of the aquarium is therefore a good place to store the preparations.
You can now inoculate with a smaller portion of Grindal or use an already colonised plate from an older batch. I have had good experiences feeding with "Milupa Babybrei Gries". A thin layer is sprinkled on the top of the plates; only when everything has been eaten should they be fed again. Don't forget to change the plates in cycles: the bottom plate, which contains the most water, is then moved to the top.
Once the batch is well established, it can be fed up to 3 times a day to maximise production.
However, you must not forget to remove the appropriate quantities of worms, as otherwise the enormous development of the worms will ensure that the batch dies within a very short time due to lack of oxygen and ammonia development.
At the latest, when the preparations start to smell - usually after a maximum of one week - the foam pieces are carefully squeezed out in a bucket of lukewarm water (preferably aquarium water) to remove the metabolic products.
The wash water is then poured through a fine mesh, which can sometimes yield more worms than can be used immediately. Otherwise, the worms that crawl along the walls and on the lid of the breeding container are easy to feed.
Seramis
The preparations based on the clay granulate Seramis® are also easy to handle. Although the productivity is not as high as on foam, the cleaning intervals are much longer. It is sufficient to rinse the entire batch in lukewarm water every 1 - 2 months; or you can run the batch until it dies off, whereby you should of course think about starting new cultures in good time.
It does not make sense to use layers higher than approx. 5 cm, as the worms tend to stay in the upper areas of the layer anyway due to the lack of oxygen in the lower areas. Feeding and removal are carried out in the same way as with the foam preparations.
Helmut Walter from Pfinztal-Berghausen was not entirely satisfied with breeding Grindal on either foam or seramis. For this reason, he carried out the following considerations and experiments:
The foam had to have a fairly precise moisture content and not get too wet. So that it didn't start to stink, it had to be washed every 4 - 6 weeks, whereby a greater or lesser number of worms would always be lost. And you couldn't afford to neglect breeding for a few days or even longer, otherwise it would be difficult or impossible to save them.
With Seramis, I was always bothered by the reddish "slime" that formed under the food jar after a short time, despite the heavy pre-washing. On the other hand, it was possible to neglect such a cultivation for a shorter or longer period of time; after 1 - 2 careful feedings it was quite easy to get it going again.
I continued to experiment out of dissatisfaction.
The first thing to try were the very small, approx. 2 to 5 mm expanded clay pellets* that cactus lovers use to raise their young plants. In my 4 to 5 years of experience, these are the substrate par excellence! The only disadvantage is that they are very difficult to obtain, usually only by mail order, and they are relatively expensive - not least because of the additional shipping costs.
(*Do not confuse this with the probably unsuitable special bonsai soil Akadama).
Secondly, I came across a substrate that is particularly cheap in the winter months, namely lava chippings in a not too coarse grain size, as used for gritting pavements when there is black ice. Of course, only grit that does not contain salt. In principle, this is just as good as expanded clay, except that the black colouring, which indicates "siffening", is not always immediately visible due to the blackish inherent colour of the chippings. With expanded clay, you can see this much sooner and better - assuming transparent or lucent growing containers. In relation to the price, however, you can afford to replace the substrate more often with lava chippings, so that this disadvantage is no longer so significant.
With reasonably good care (e.g. substrate improvement of the feeding areas by rearranging the substrate within the breeding container), regular removal and no overfeeding, the service life of both substrates is six months to a whole year! That's quite something! Isn't it?
I am sharing these test results with you because - unlike me - you have a website on which you have already mentioned me in a similar context, and they may be a good addition for many interested parties if you publish them there.
Further information can be found in the breeding instructions that I sometimes give to interested aquarists.

